In this blog, I`d like to share some of my own experiences and tips, especially for beginners.
When we are taking pictures of flowing/ moving water, such as a river, creek, a waterfall, the waves of a lake or the surf, we usually see the image of the water as frozen. See the 2 images below shot with 1/1460 of a second ( iPhone13 Pro, f/2,8) and with 1/800 of a second (Canon R5 ). 

The reason for this effect is the very short exposure time of the camera or smartphone. If, on the other hand, we want to capture the flowing movement of the water in the image, a longer exposure time is required. A tripod is essential for this. Without one, the resulting image would be completely blurred.
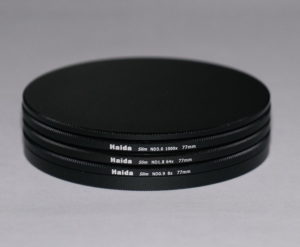
For the long exposures I´m using 3 ND HAIDA filters with different extension factors, all with a diameter of 77 mm.
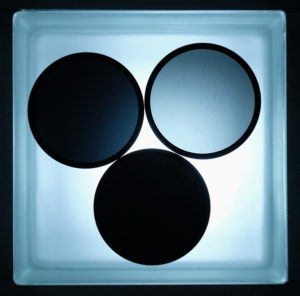
– ND 0.9 = 8x
– ND 1.8 = 64x
– ND 3.0 = 1000x
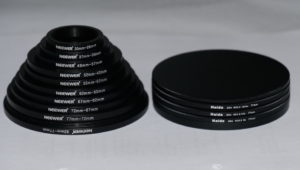
ND stands for neutral density. The grey color is neutral and has no impact on the colors in the image. With a diameter of 77mm, they fit all wide lenses. With reduction rings I can use them on lenses with a smaller diameter as well, what is an enormous cost saving.
 |
 |
 |
| They come with a cover for top and bottom | The different gray factors | The stack of reduction rings |
As the following images clearly demonstrate, different exposure times have a significant impact on the results. At least for my taste, the examples with exposure times between 1/50 and 5 seconds are the best, as the water still shows “texture”.


